Getting started with Oculus Rift

Facebook just bought Oculus VR. You bought the headset. You bought a share of the future. Now how do you start handling it?
“The incredible thing about the technology is that you feel like you’re actually present in another place with other people. People who try it say it’s different from anything they’ve ever experienced in their lives.” - Mark Zuckerberg (CEO of Facebook)
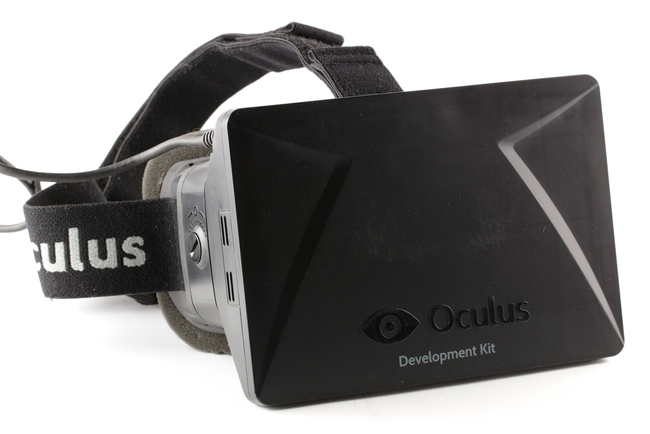
First, let’s see what’s in the box:
- 1 headset
- 1 connection box
- 3 pairs of lenses
- 1 power supply
- 1 DVI cable
- 1 HDMI cable
- Adapters for all regions…
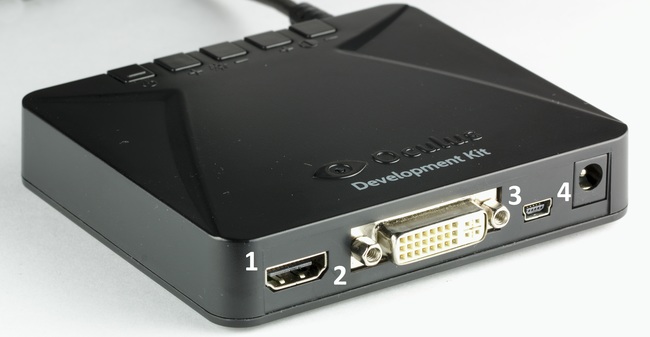
Let’s getting started with the connection box.
You notice that it has 4 parts:
- 1) HDMI
- 2) DVI
- 3) USB
- 4) power
At this point it’s really plug and play. Literally.
- Connect either the HDMI or the DVI port of your computer to the HDMI or the DVI port of the connection box;
- Connect the USB port of your computer with the USB port of the connection box.
- Plug in the power supply (yes)
Now that everything is wired up, let’s see on the computer’s side what’s happening. In Windows, access your Devices and Printers window. Once you’ve waited a while for the new hardware to be found (and you’ve pressed the power button on the connection box), you should see 2 new things there and a blue led on the connection box:
- Rift DK
- Tracker DK
If those 2 don’t show up, try unplugging and plugging again the USB or the HDMI (or the DVI) cable.
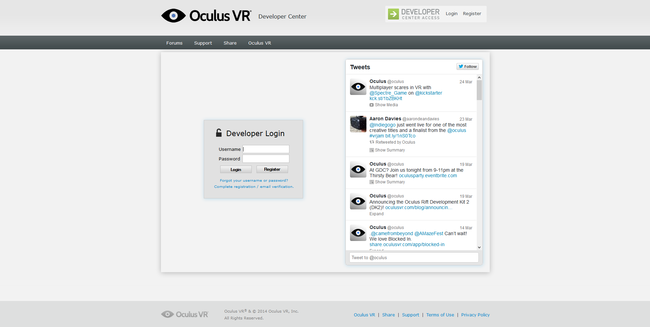
We are done with the hardware part. Now let’s get the SDK (Software Development Kit) from the Oculus VR Developer Center:

You will have to register at first, and this should be straight forward. Once you have a valid username and password, come back to this page and login.
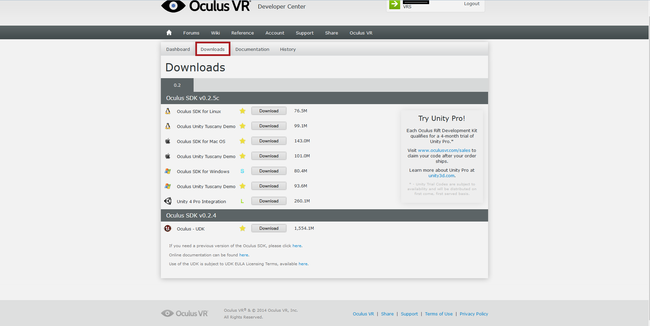
From the first page, you will notice a Downloads tab (labelled in red on the previous picture) . Click on it, and then you can download your SDK (on Windows, you only need to download the Oculus SDK for Windows).
Now that you have the SDK, extract it wherever you want to have it.
Launch the Oculus World Demo and… have fun !

